How to Convert Image to Code
Mar 10, 2021 84868 seen
There are tools that will charge the process of transforming those designs to development easily without any lengthy workflow. Converting a design or any image into code occurs when a design reaches a phase where the developers are to implement the design. Nevertheless, do you know how to convert images to HTML/CSS if you have no idea how to deal with codes?
In this article, we are going to learn how to convert an image to HTML code step by step.
Step 1
First, choose an image. It can be any image of any size. You can select a file from your computer or your Google Drive or Dropbox account.
Step 2
Save the image locally or online. This means that you can save it to your computer or at a specific Web address.
Step 3
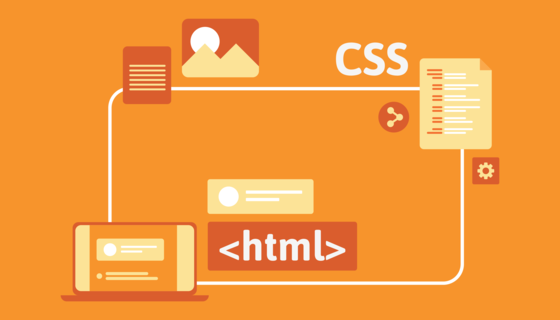
Open an HTML document. Use the image tag and the exact URL of where the image is stored. This will embed the image into your HTML document. When the users open that document via a Web browser or other program, the image will appear.
Step 4
Adjust the width of the image as you wish it to appear, in terms of pixels. Again, use the exact URL of where the image is stored. For example, <img src-"http://example.com/image.jpg" width=700>. This will stretch or shrink the existing width of the image to 700 pixels.
Step 5
Adjust the height of the image as you wish it to appear, in terms of pixels.
Step 6
Combine width and height adjustments as necessary.
Step 7
Turn the image into a link if desired. Use the anchor tag with the image tag embedded within
