Plugins for UX/UI Designers | HTML CSS Code from Mock Up
Apr 23, 2020 9962 seen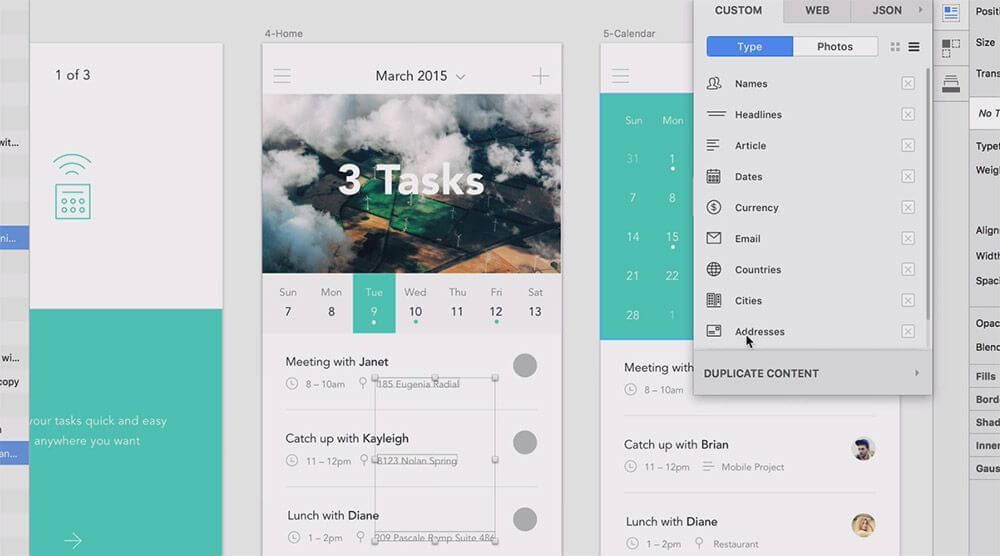
Photoshop is a great tool that can help you create amazing UI designs. But as powerful as Photoshop is, there is no denying it that accomplishing certain things takes time. In addition to that, sometimes you need to collaborate with others on the same design file which can get tricky - therefore in this article, we have collected some great sketch plugins for UX/UI designers and HTML CSS code converter from Mock-up to make streamline their design workflow.
Armed with these powerful plugins, we believe you can perform better on design.
HTML CSS Code Converter from Mock-Up
Converting image to HTML is a common need for designers, developers as well as for others in some daily works - there may be found tones of ways and already existing image to HTML CSS online services on the internet to employ with. In this case, we recommend a professional Image to HTML conversion service - Fronty, which is very simple to use if you have no developing skills and know a little about HTML/CSS codes. Our service will turn your mock-up design into a website, through getting the source codes by simply uploading an image. With this tool, you can save both money and time, as long as you do not have to pay developers for building a website for you and the converting process lasts literally a few minutes. Fronty's all-in-one editor allows you to come up with all the possible image editing problems, that may appear during making a design, or building a website, and etc, however, plugins presented below, also will make you have fun with your sketches with ease!
Marketch
After finishing mockups, we often need to tell the front-end developers, the concrete size of pictures, the text size, and spacing, Marketch will make you full of surprises.
Marketch is a Sketch 3 plug-in for automatically generating an HTML page that can measure and get CSS styles on it, enabling super practical features such as dynamic annotation, unit conversion, and dynamic slicing. It can help designers not only to reduce the burden but also to check the layout parameters of all the elements, even the CSS code. In addition, this plugin can generate HTML locally and you don’t have to worry about security and privacy issues.
iDoc
iDoc is a powerful product design collaboration tool for designers and engineers. It greatly facilitates the handoff by taking designs from Sketch, PS, Adobe XD and exporting them into a format that can easily generate code snippets, specs, assets, style guides, interactive prototypes, etc. In iDoc, designers can:
- Export designs in one click from Sketch, Adobe XD and Adobe Photoshop
- Handoff designs with accurate specs, assets, code snippets automatically
- Get notified of up-to-date comments and feedback promptly, import and update your existing design again if there are any changes
- Collect and organize style guides automatically to build your team’s design repository
IconFlower
This plugin is very suitable for making the popular multi-icon background, you do not have to mechanically drag the icon one by one to the different parts of the canvas, but only need to put all the materials on a canvas, select all and click IconFlower, it can automatically arrange all your icon.
BaseAlign
Alignment tools in Sketch are nice for shapes but less friendly for text layers, and the text alignment that comes with the sketch is based on the outer text box, not the text itself. As a result, text boxes of different sizes are aligned up and down, a mess.
When aligned, the BaseAlign plugin aligns itself with the text’s own baseline instead of a text box, ensuring that the text box is perfectly aligned to the actual text no matter what the size.
Batch Create Symbols
The symbol greatly enhances the unity of the interface in UI design, but there is a particularly troublesome thing about the sketch, which is that you can only create one symbol at a time.
Batch Create Symbols plug-in, you can make all the selected layers, at the same time into a symbol. You can even batch name the symbol or use the layer name directly. A highly recommended plug-in.
SketchDistributor
Compared to Sketch’s built-in alignment tool, SketchDistributor is more accurate and user-friendly.
SketchDistributor can help you select a set of layers, enter a value, choose a horizontal or vertical distribution, and, when confirmed, will get the exact pixel-level spacing.
Rename it
During the design, we often need to modify the graphics name in batches. The names are preferable to reflect the layer properties and parameters, you can quickly and easily find the desired layer. Rename it will be your great assistant.
- Select the elements need to be named in batches
- Select Plugins> Rename it, naming the rules in the Pop-up window. The data % W% H are variables, and they will be automatically filled according to the image size. What we only need to do is only set the rules and click OK.
Extend the layer name: Enter “+” and the text you want to add. (e.g: + button)
Name the layer order: Enter “% N” to name the layer order with a number suffix. “% N” is the number with the reverse order. (e.g item% N)
Retain and move the original layer name: Enter a new layer name, use the “*” instead of the original layer name. (e.g big * button)
Add the length and width of the layer: Enter “% W” and “% H” to add the length and width of the layer.