How to Convert an Image into a 3D Model: Detailed Guide
Jul 08, 2024 5800 seen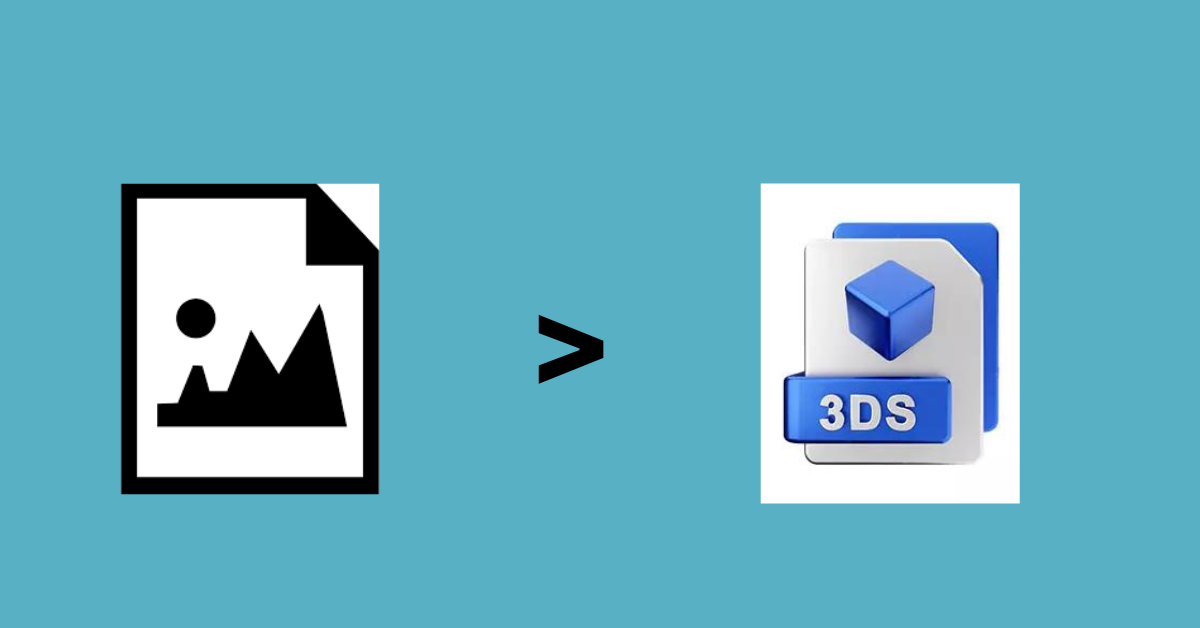
Introduction
Today, we will discuss a less famous topic: how to convert 2D images into a 3D model. This practice is used in many fields, including gaming, animation, virtual reality, and even in industries like architecture and medicine.
3D models are used in:
- Gaming and Animation: Creating characters and environments.
- Architecture: Visualizing buildings and spaces.
- Medicine: Simulating human anatomy for educational purposes.
- Virtual Reality: Building immersive environments.
This guide will help you understand the techniques and tools required to convert an image into a 3D model.
Image into a 3D Model Converting Process
Preparing Your Image
Selecting the Right Image
Choose an image with clear details and minimal background noise. High-resolution images are preferred as they provide more detail, making the modeling process easier and more accurate.
Reference Images
Sometimes, having multiple angles of the object helps. Gather reference images from different perspectives (front, side, and top views) to ensure the accuracy of the 3D model.
Tools and Software
Several software tools are available for 3D modeling. Here are some popular ones:
Blender
Blender is a widely used open-source 3D modeling tool due to its powerful features and free availability. It supports a range of functions, from basic modeling to complex simulations.
Autodesk Maya
Maya is a professional 3D modeling and animation software used extensively in the film and gaming industries. It offers comprehensive tools for modeling, texturing, and rendering.
Mushroom
Mushroom is an open-source photogrammetry software that converts photos into 3D models. It's user-friendly and integrates well with other 3D tools like Blender.
Photoshop
Photoshop's 3D capabilities allow users to create and manipulate basic 3D models. This feature is particularly useful for beginners who are already familiar with the Adobe ecosystem.
The Modeling Process
Creating high-quality 3D models involves several key stages, starting with image-to-mesh conversion. Using photogrammetry, take multiple photographs of your object from different angles and stitch these images together with software like Meshroom to form a 3D model. Import your images into Meshroom, let it process them to create a 3D mesh, and then export this mesh to a 3D modeling software like Blender for further refinement.
Refining the mesh is the next crucial phase. Utilize sculpting tools within Blender or Maya to add intricate details and smooth out imperfections. Retopology enhances the mesh's structure, making it easier to work with, and Blender's built-in retopology functions are particularly useful for this purpose.
Texturing and UV mapping come next. UV mapping involves unwrapping the 3D model onto a 2D surface to apply textures accurately. Both Blender and Maya offer robust UV mapping tools. Apply high-resolution textures to give your model realistic color and detail, significantly enhancing its overall appearance.
If your 3D model is intended for animation, rigging is essential. Rigging involves creating a skeleton for your model so it can move, and both Blender and Maya provide extensive tools to assist with this process.
Finally, rendering is generating a 2D image from your 3D model. This stage involves adjusting lighting, camera angles, and other settings to produce a realistic image. Tools like Blender Cycles or Arnold (for Maya) are ideal for high-quality rendering. Following these stages, you can create detailed and realistic 3D models for static use or animation.
Practical Applications and Examples
Gaming
In game development, characters and environments created from 2D concept art are turned into 3D models. Tools like Blender and Maya are extensively used.
Architecture
Architects use 3D models to visualize buildings and interiors. Software like AutoCAD and Revit often work in conjunction with 3D modeling tools.
Medicine
3D models of organs and body parts in medicine are created from 2D scans to assist in education and surgery planning.
Tips and Best Practices
- Accuracy: Ensure your reference images are as accurate and detailed as possible.
- Learning: Invest time in learning about software tools. Online tutorials and courses can be very helpful.
- Practice: The more you practice, the better you'll get. Start with simple objects and gradually move to more complex models.
- Community: Join forums and communities. Places like Blender Artists or the Autodesk forums are great for getting help and feedback.